OBDLINK MX WIFI ANDROID QUICK START GUIDE
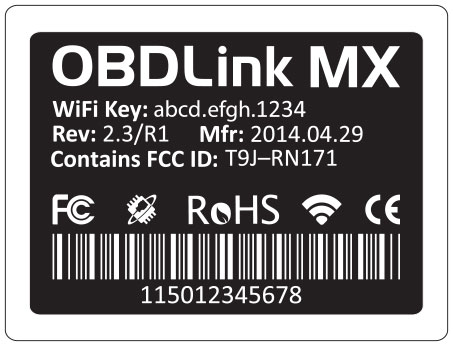
Step 1: Write down the 14-digit Wi-Fi Key
The factory default Wi-Fi Key is found on the bottom of MX Wi-Fi, is lowercase and includes periods.
Step 2: Download the app from Google Play
There are two options to download the app to your smartphone or tablet:
Option 1:
From your Android device, tap the 'Google Play' app. Search for "OBDLink".
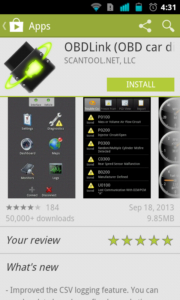

Tap the 'Install' button, then 'Accept' the app's permissions. The OBDLink app automatically completes the installation on your Android device.
Option 2:
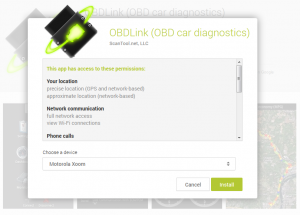
Visit the OBDLink app page on Google Play using your preferred web browser. Log into Google Play. If you have multiple Android devices, select the target device. Click the 'Install' button:
Note: The OBDLink app can be installed on each of your Android devices. The OBDLink app works exclusively with OBDLink brand adapters.
Step 3: Locate the OBD-II diagnostic connector in your vehicle
The diagnostic connector is always located in or near the interior dashboard of your vehicle. The diagnostic connector will usually be exposed, but sometimes it's hidden under a decorative plastic cover, or behind an ashtray or coin tray. The most common location is below the steering column, just below the driver's dash area.
![]()
Step 4: Plug MX Wi-Fi into your diagnostic link connector (DLC)
Don't use excessive force, but make sure it fits snugly.
OBDLink MX Bluetooth is used in the above video, but the process is the same for all OBDLink devices.
Step 5: Turn ignition to Key On Engine Off position
On some vehicles the 'ON' position is marked with the Roman numeral 'II'. If there are no markings, turn the key clockwise and stop just short of starting the engine.

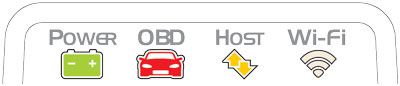
Once plugged in, the 'Power' LED will turn solid green.
For Wi-Fi models, the white 'Wi-Fi' LED will emit a flash every 3 seconds.
If all LEDs are off, check the cigarette lighter/auxiliary power port fuse.
Step 6: Open Android 'Settings' App, and tap 'Wi-Fi'
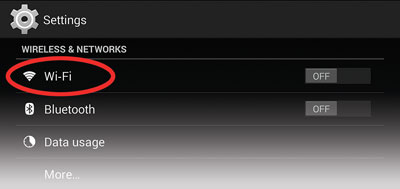
Step 7: Turn 'Wi-Fi' on

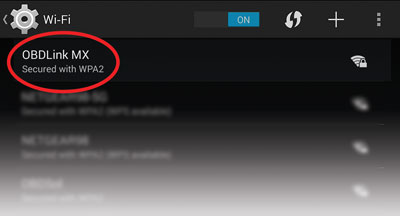
Step 8: Select 'OBDLink MX' from the list of available networks
Step 9: Enter the Wi-Fi Key in the 'Password' field, and tap 'Connect'
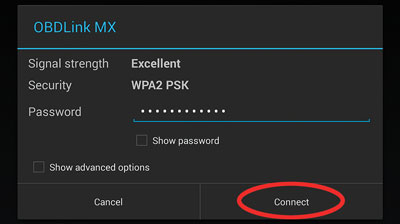
Note: The network status will change to ‘Connected,’ and the ‘Wi-Fi’ LED will change to a slow blink. Remember that the Password is lowercase and includes periods.

Step 10: Connecting to your vehicle
Open the OBDLink app. Tap 'Connect.'

Step 11: Choose 'Wi-Fi'
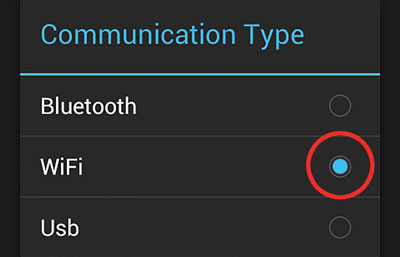
The app will now establish a connection with OBDLink and detect which OBD-II protocol your vehicle uses. Once the app establishes a connection with MX, the ‘Wi-Fi’ LED will turn on solid. Tap ‘Diagnostics’ to start a scan.